Managing incidents in ServiceNow via the Keep Aware ServiceNow Integration
Requirements
- Access to the Keep Aware Console: Ensure you have valid login credentials and are logged in to the console.
- Permissions to configure OAuth applications in your ServiceNow Environment: Confirm that you have the necessary permissions to create OAuth applications and enable required system properties in your ServiceNow environment.
Setup OAuth Client Credentials in ServiceNow
First you will need to setup an OAuth application in ServiceNow using the client credentials grant type.
- Navigate to System OAuth > Application Registry
- Click New
- Select New Inbound Integration Experience
- Click New Integration
- Select OAuth - Clinet credentials grant
- Under Auth Scopes add Table API to Limit authorization to the following APIs
- Save the application
Ensure that the OAuth application and associated user have the necessary permissions to:
- Access the Table API (
/api/now/table/incident) - Create incidents in the incident table
Setting up ServiceNow in Keep Aware
To get started, navigate to the Integrations Page and select the ServiceNow integration. This will open a modal where you can select Create New Integration and begin configuring the integration.
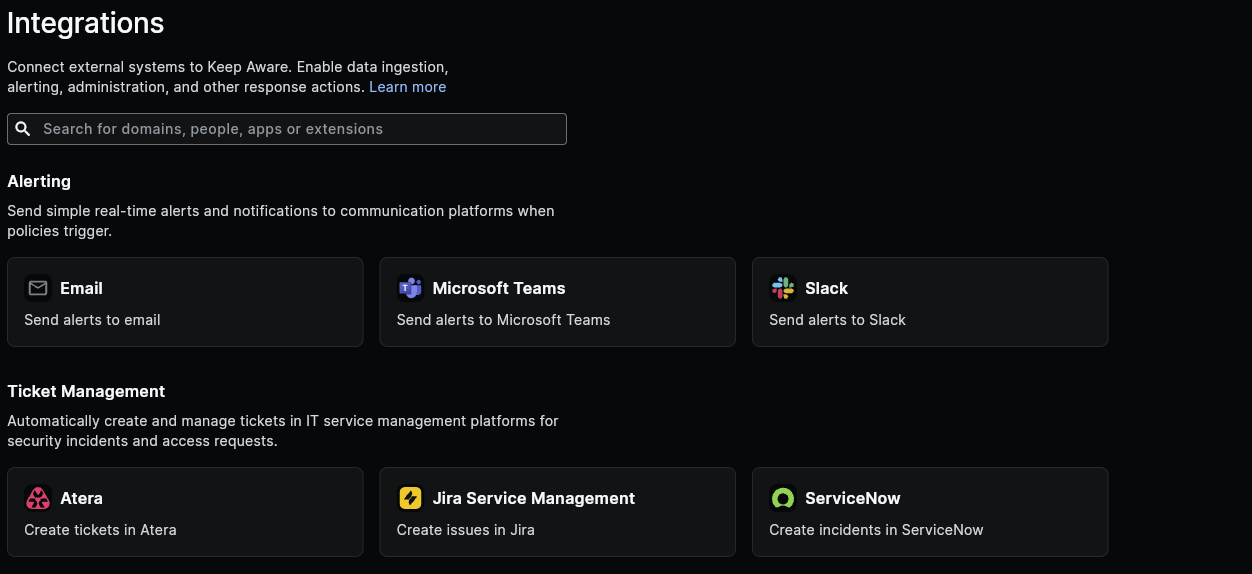 Image: Integrations Page
Here we will configure each of the fields below:
- Label: A unique name for your ServiceNow Integration.
- Instance URL: Your ServiceNow instance URL (e.g.,
https://your-instance.service-now.com) - Client ID: The Client ID from your ServiceNow OAuth application.
- Client Secret: The Client Secret from your ServiceNow OAuth application.
- Body: This is the JSON body that will be sent to ServiceNow. See below for information on customizing the incident body.
After you save the integration, that will complete the basic setup for getting ServiceNow connected to Keep Aware.
Customize the Incident created in ServiceNow
All payloads sent to ServiceNow utilize wildcards and will be populated with values gathered from the Event or Threat that triggered this integration on a Policy.
Here is an example body that utilizes wildcards. All values wrapped in double-curly brackets will be replaced with their corresponding value on the Event.
{
  "short_description": "[Keep Aware] Alert | {{type}}",
  "description": "A security event has been detected by Keep Aware\n\nEvent Type: {{type}}\nUser: {{user.label}}\nLocation/Hostname: {{location}}\nEvent Link: https://console.awarefilter.com/explore/events?query=_id:%22{{id}}%22\n",
  "category": "Security",
  "priority": "3",
  "impact": "2",
  "urgency": "3",
  "state": "1"
}
Further details on all of the wildcard fields that may be used in the Body are available in our Searching documentation under Event and Threat Fields.