Forward Events and Threats to Elastic Cloud.
Forwarding Events to Elastic Cloud
Requirements
- Access to the Keep Aware Console: Ensure you have valid login credentials and are logged in to the console.
- An Elastic Cloud Deployment: You need an active Elastic Cloud deployment with an Elasticsearch endpoint.
- API Key with Write Permissions: An API key configured with permissions to write to your target index.
Create an API Key in Elastic Cloud
First, you'll need to create an API key with the appropriate permissions to write documents to your target index.
Navigate to API Keys
- Log in to your Elastic Cloud console
- Navigate to Stack Management > Security > API keys
- Click Create API key
Configure API Key Permissions
When creating the API key, you'll need to configure role descriptors that grant write access to your target index. Here's a recommended configuration:
{
  "keepaware_writer": {
    "cluster": [],
    "indices": [
      {
        "names": [
          "keepaware-events"
        ],
        "privileges": [
          "create_doc",
          "auto_configure"
        ],
        "allow_restricted_indices": false
      }
    ],
    "applications": [],
    "run_as": [],
    "metadata": {},
    "transient_metadata": {
      "enabled": true
    }
  }
}
The auto_configure privilege allows Elasticsearch to automatically create the index if it doesn't exist. If you prefer to pre-create the index with specific mappings, you can remove this privilege and use only create_doc.
After creating the API key, copy the Base64 encoded key value. You'll need this when configuring the integration in Keep Aware.
Recommended Index Mappings
This integration uses dynamic mapping ("dynamic": true), which means Elasticsearch will automatically detect and map new fields as they are indexed. The configuration below provides some explicit mappings for key fields while allowing dynamic mapping for everything else:
{
  "mappings": {
    "numeric_detection": false,
    "dynamic_date_formats": [
      "strict_date_optional_time",
      "yyyy/MM/dd HH:mm:ss Z||yyyy/MM/dd Z"
    ],
    "dynamic": true,
    "date_detection": true,
    "properties": {
      "@timestamp": {
        "type": "date"
      },
      "geo.location": {
        "type": "geo_point"
      },
      "lists": {
        "type": "text"
      },
      "data.selector": {
        "type": "keyword"
      },
      "account.user.id": {
        "type": "keyword"
      },
      "device": {
        "type": "object",
        "properties": {
          "lastUpdated": {
            "type": "long"
          },
          "hostname": {
            "type": "text"
          },
          "macAddress": {
            "type": "text"
          },
          "ipAddress": {
            "type": "text"
          },
          "id": {
            "type": "text"
          },
          "user": {
            "type": "text"
          }
        }
      }
    }
  }
}
Setting up Elastic Cloud in Keep Aware
To get started, navigate to the Integrations Page and select the Elastic Cloud integration. This will open a modal where you can select Create New Integration to go to the configuration page.
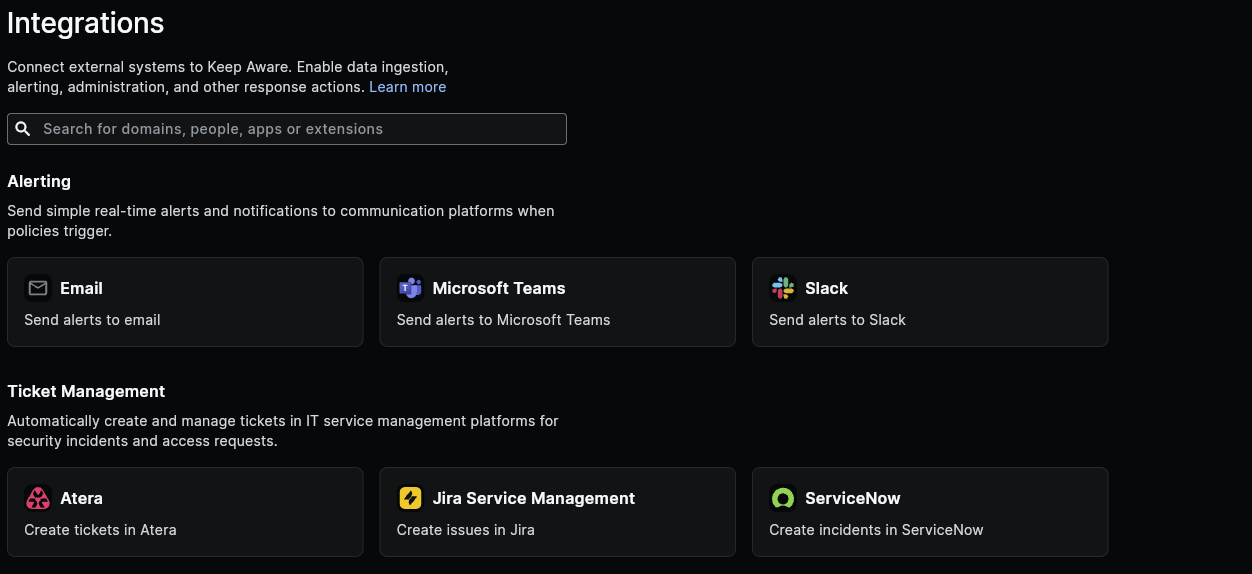 Image: Integrations Page
Here we will configure each of the fields below:
- Name: A unique name for your Elastic Cloud Integration.
- Elasticsearch URL: Your Elastic Cloud deployment endpoint (e.g.,
https://my-deployment.es.us-east-1.aws.elastic.cloud). - API Key: The Base64 encoded API key you created earlier.
- Index: The name of the index where events will be stored (e.g.,
keepaware-events). - Body: This is the JSON body that will be indexed in Elasticsearch. See below for information on customizing the event body.
After you save the integration, that will complete the basic setup for getting Elastic Cloud connected to Keep Aware.
Continue below for how to customize the body that is sent to Elastic Cloud.
Customize the Event Body Sent to Elastic Cloud
All payloads sent to Elastic Cloud utilize wildcards and will be populated with values gathered from the Event or Threat that triggered this integration on a Policy.
Here is an example body that utilizes wildcards. All values wrapped in double-curly brackets will be replaced with their corresponding value on the Event.
{
  "@timestamp": "{{@timestamp}}",
  "type": "{{type}}",
  "user": {
    "email": "{{user.email}}",
    "id": "{{user.id}}",
    "label": "{{user.label}}",
    "ip": "{{user.ip.public}}"
  },
  "url": "{{url}}",
  "domain": "{{domain}}",
  "location": "{{location_full}}",
  "page": "{{page}}",
  "policy": {
    "id": "{{policy.id}}",
    "label": "{{policy.label}}"
  },
  "category": "{{category}}",
  "browser": {
    "name": "{{browser.name}}",
    "version": "{{browser.version}}",
    "os": {
      "name": "{{browser.os.name}}",
      "version": "{{browser.os.version}}"
    }
  },
  "device": {
    "hostname": "{{device.hostname}}"
  },
  "status": "{{status}}",
  "hits": "{{hits}}"
}
Further details on all of the wildcard fields that may be used in the Body are available in our Searching documentation under Event and Threat Fields.
Frequently Asked Questions
| Question | Answer |
|---|---|
| What permissions does my API key need? | At minimum, your API key needs create_doc privilege on the target index. Add auto_configure if you want Elasticsearch to automatically create the index. |
| How can I find out what Event and Threat fields can be forwarded to Elastic Cloud? | All available Threat and Event fields are described and documented in the Event and Threat Fields Documentation. |
| Can I use a self-hosted Elasticsearch cluster? | Currently, this integration is designed for Elastic Cloud deployments. For self-hosted clusters, please contact support. |
| What happens if the index doesn't exist? | If your API key has the auto_configure privilege, Elasticsearch will automatically create the index. Otherwise, you'll need to create it manually first. |